Classroom & live online 180 Hours Verifiable certificate Syllabus ↓

Revit Course

Learn Revit for architecture, structure and MEP BIM models, schedules and sheets.

Your roadmap — from admission to certificate

  1. Free counselling

    Talk to our counsellor — choose the right course, batch time and mode.

  2. Admission

    Join at a CADD centre near you or online. You get your student login and ID card.

  3. Learn step by step

    180 Hours of hands-on Revit classes — in the classroom or live online.

    Revit FundamentalsGetting Started With Revit ArchitectureModeling Building EssentialsBasic Modifying and Reporting toolsWalls - An In-Depth LookModelling Building Core ElementsModelling Building InteriorsDimensions and ConstraintsComponents and FamiliesManaging Project Settings & Visibility/Graphics
  4. Practice & project

    Exercises in every class and a final project, checked by your trainer.

  5. Course completion certificate + completion badge

    Finish the course and get your course-completion certificate and a digital completion badge with your name.
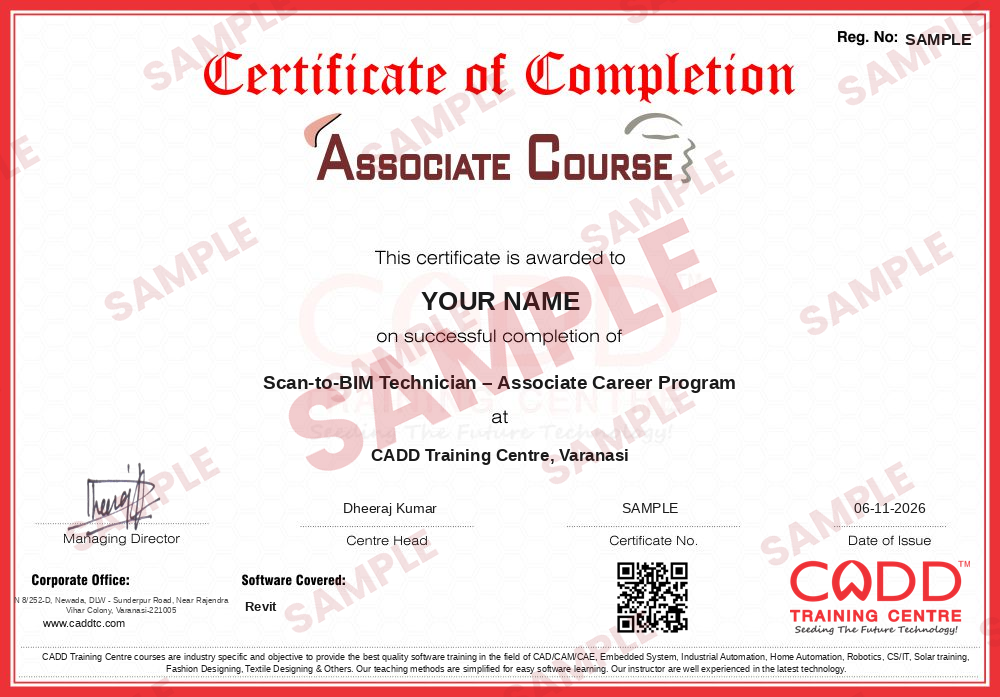
    Sample course-completion certificate — Scan-to-BIM Technician – Associate Career Program
    Course-completion certificate (sample) — Scan-to-BIM Technician – Associate Career Program · verifiable online
    Course-completion badge — Scan-to-BIM Technician – Associate Career Program
    Course-completion badge
    Course
    Scan-to-BIM Technician – Associate Career Program
    Issued by
    CADD Training Cetre
    Training
    Classroom or live online
    How to earn
    Complete the course and its project
    With your name and year · its own verify link · “Add to profile” on LinkedIn
  6. Certification exam

    Take the certification exam: a theory test and a practical task — at the centre or online.

  7. Certified certificate + marksheet

    Pass the exam and get the certified certificate with your marksheet. Anyone can check it online with its QR code.

  8. Certified badge

    Your certified badge — add it to LinkedIn and share it anywhere; it opens its own verify page.
    Certified badge — Scan-to-BIM Technician – Associate Career Program
    Certified badge
    Course
    Scan-to-BIM Technician – Associate Career Program
    Issued by
    CADD Training Cetre
    Training
    Classroom or live online
    How to earn
    Pass the certification exam
    You also get
    Certified certificate + marksheet
    With your name and year · its own verify link · “Add to profile” on LinkedIn
  9. Make your CV & apply for jobs

    Make your CV in your student panel (Career → My CV) — your course, certificates and projects are added for you. Send it as a link with a preview picture, and apply to jobs and Hire Me requests from companies.

About the Revit course

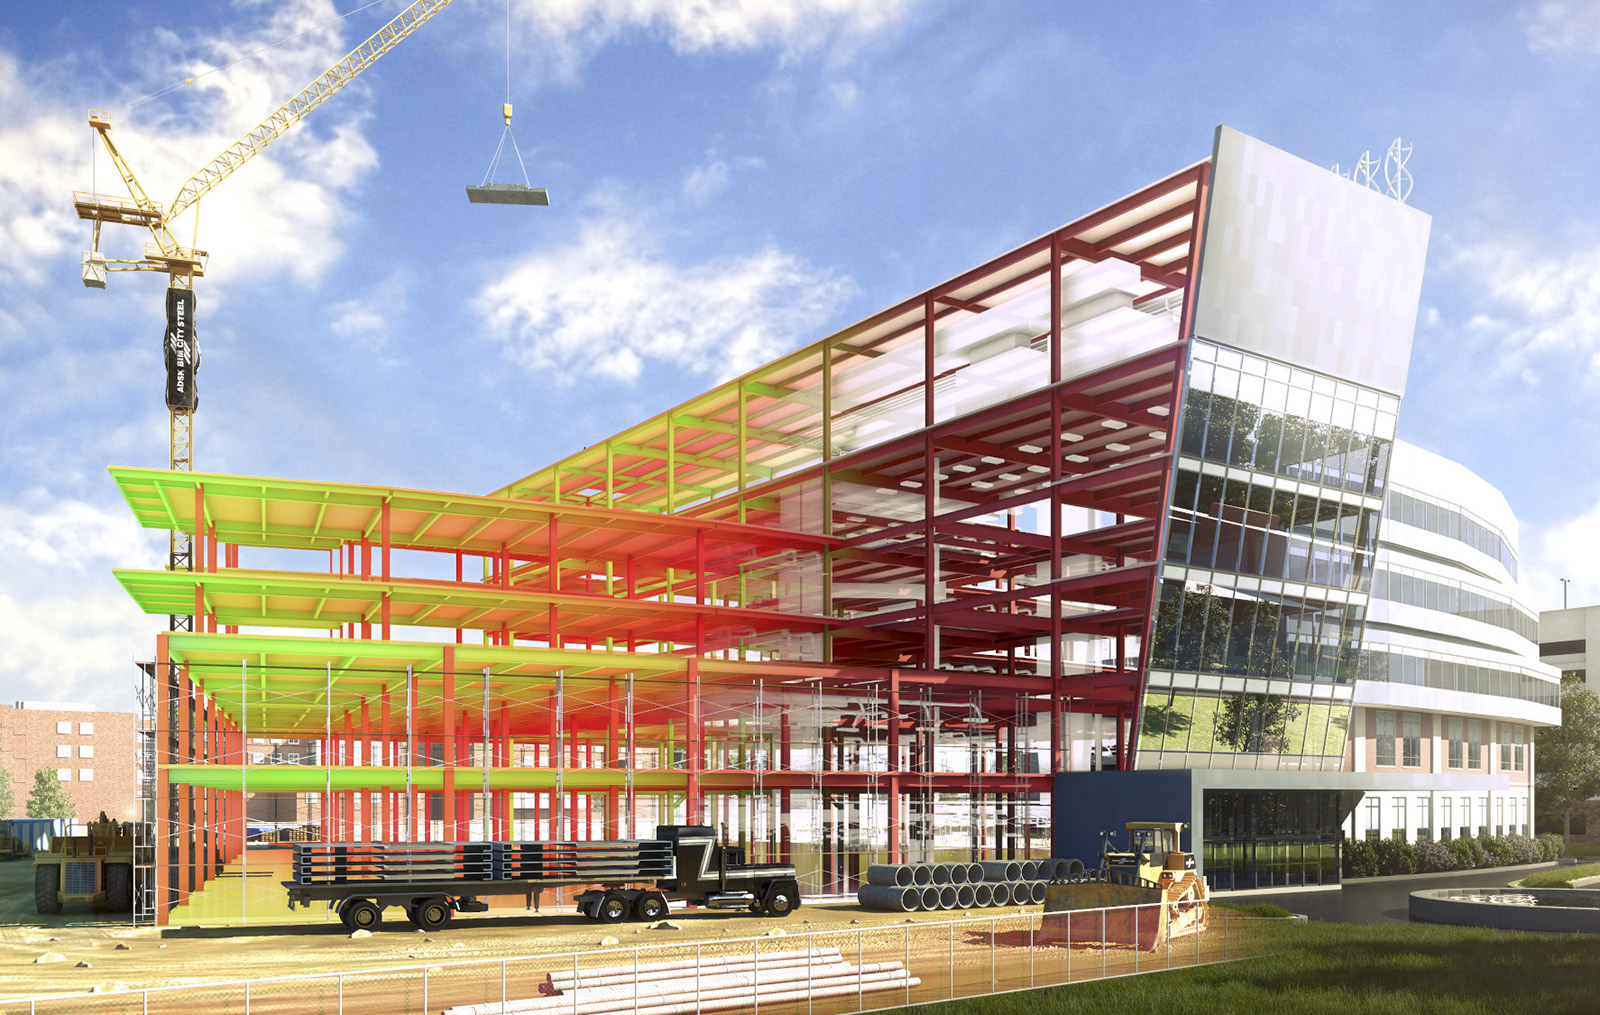
Autodesk Revit is Building Information Modeling (BIM) software in which architects, structural engineers and MEP engineers create a single intelligent 3D model of a building. Plans, sections, elevations, schedules and quantities are generated from that model and update automatically when the design changes, which is why architecture practices, construction companies and BIM consultancies increasingly expect their teams to work in Revit.

This 180-hour Revit course covers all three disciplines in one programme. You set up projects with levels, grids, templates and units, then model walls, floors, roofs, ceilings, doors, windows, stairs and railings. The structural part adds columns, beams, foundations and reinforcement views, while the Revit MEP part teaches HVAC ducts, plumbing pipes, fixtures, electrical devices and circuits. You also create and edit parametric families, produce schedules, quantity take-offs and annotated sheets, and learn worksharing, linked models and coordination. The long duration allows a full building project from concept to documentation. Training is hands-on, with a student login, in CADD classrooms or live online batches.

Revit opens paths such as BIM modeller, Revit MEP modeller, Revit architect and BIM coordinator trainee. Navisworks for clash detection is a useful next course.

You will be able to

  • Set up a Revit project with levels, grids, templates and project units
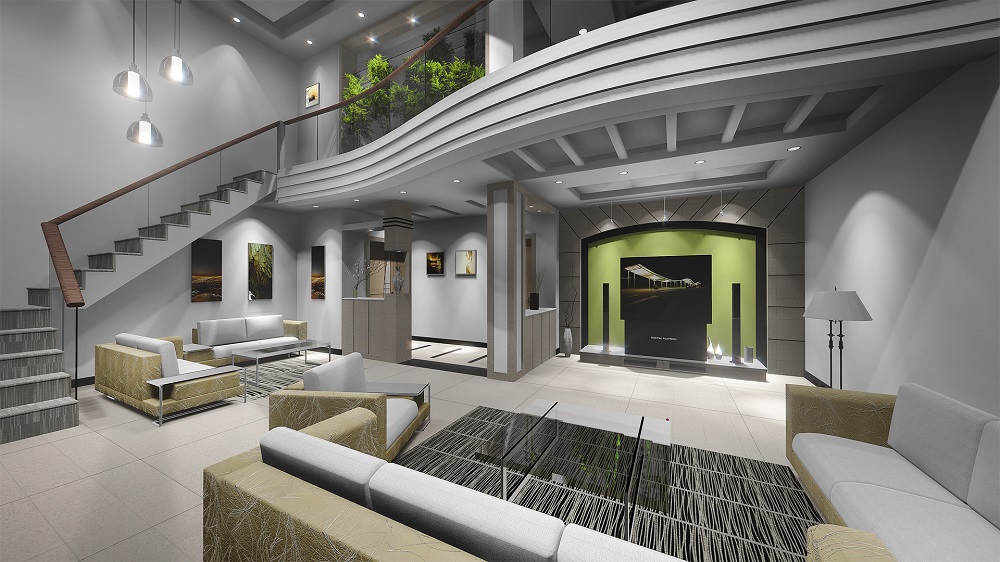
  • Model walls, floors, roofs, ceilings, doors, windows, stairs and railings
  • Create structural columns, beams, foundations and basic reinforcement views
  • Model MEP systems: ducts, pipes, plumbing fixtures, electrical devices and circuits
  • Create and edit families and use parameters to control them
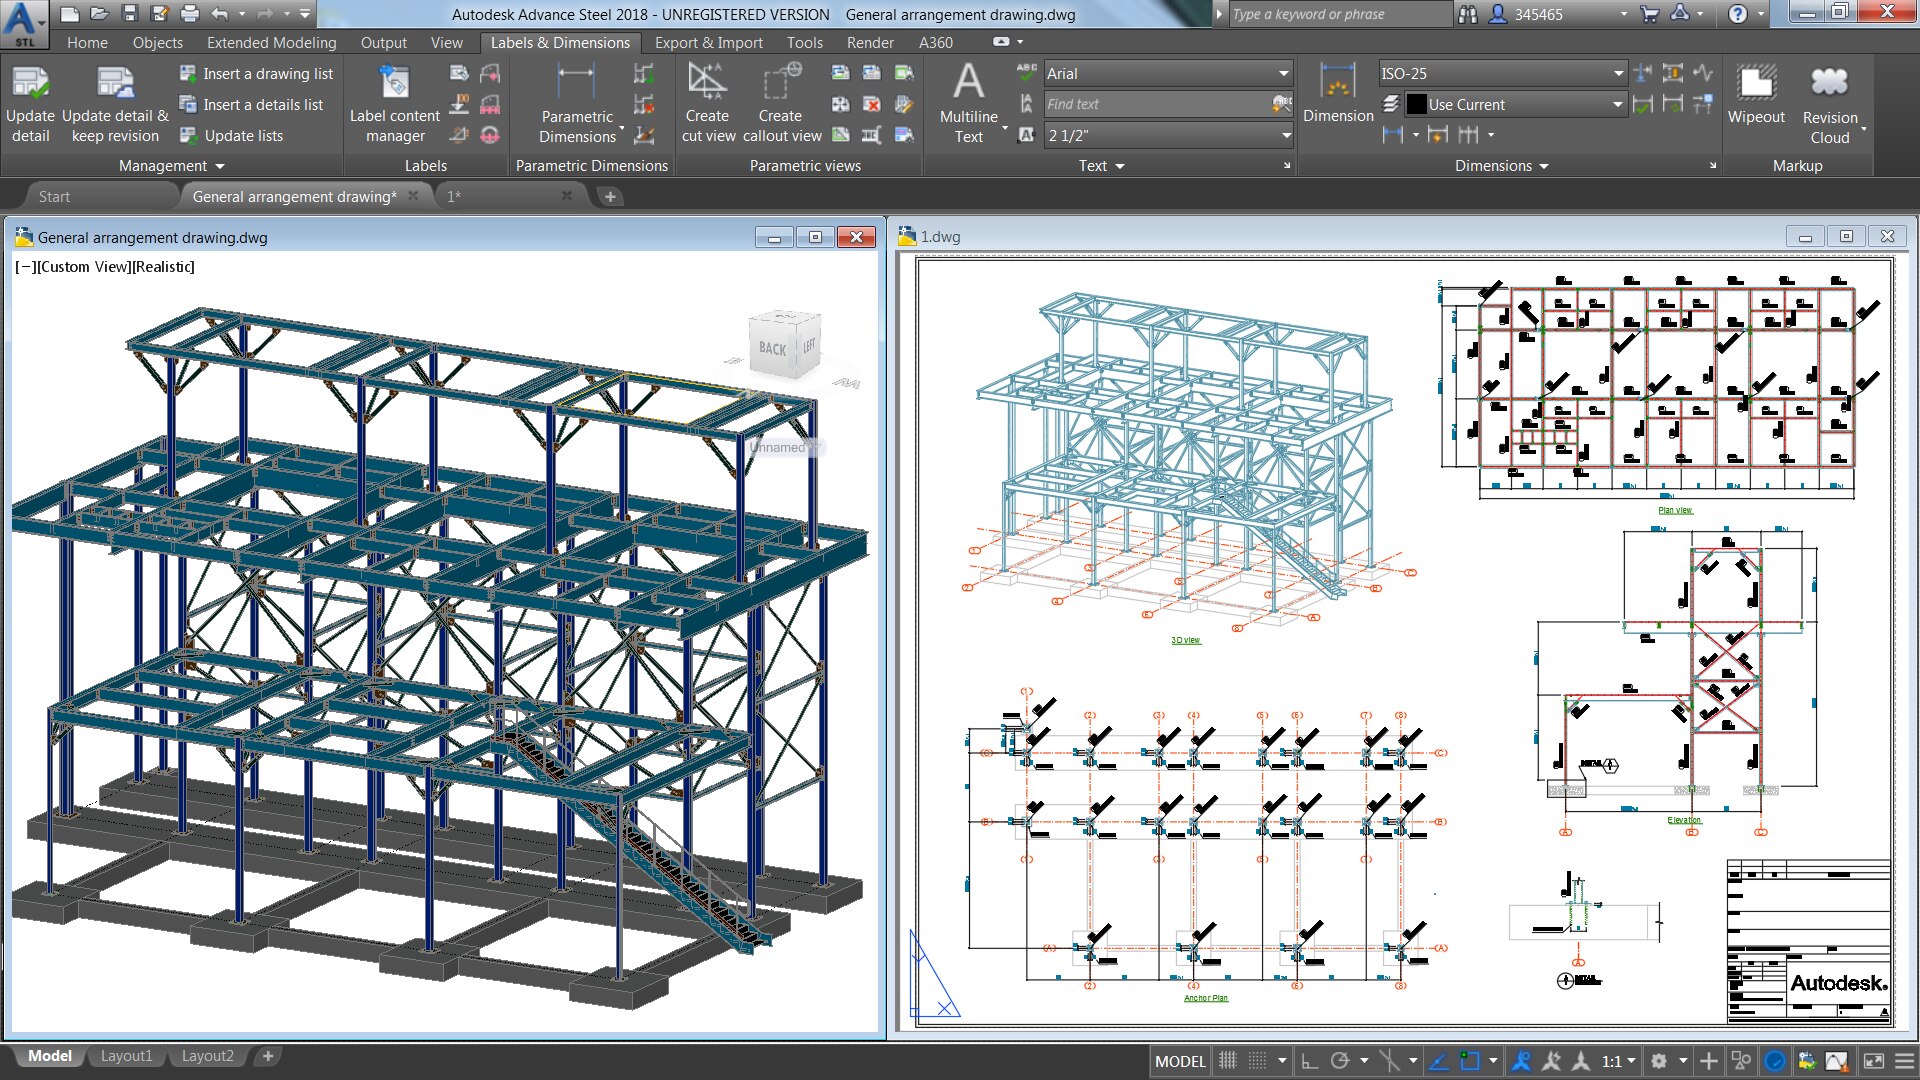
  • Generate schedules, quantity take-offs, sections, elevations and annotated sheets
  • Collaborate with worksharing, linked models and coordination tools

Who it is for

  • Civil engineering and architecture students who want BIM skills
  • MEP, electrical and mechanical engineers working on building services
  • AutoCAD draughtsmen moving from 2D drafting to BIM
  • Working architects, engineers and BIM modellers in consultancy and construction firms

What you need

  • Basic computer skills; AutoCAD knowledge is helpful
  • Understanding of building drawings (plans, sections, elevations)
  • A Windows PC with 16 GB RAM and a dedicated graphics card is recommended for live online classes

Courses that include Revit

Scan-to-BIM Technician – Associate Career ProgramAssociate Career Program · 234 Hours · 3 software
Enquire →
Scan-to-BIM Technician – Professional Career ProgramProfessional Career Program · 298 Hours · 5 software
Enquire →

Revit Syllabus

25 chapters · 249 topics
01 Revit Fundamentals 11 topics
  1. Introduction to Revit
  2. Understanding About Parametric Modeling Relationships
  3. Understanding The Revit Elements
  4. Understanding Elements Properties Behavior in Revit
  5. Opening a Project File
  6. Identifying the User Interface Components
  7. Working with the mouse and keyboard
  8. Working With Different Project View Windows, Zooming/Navigation Project Views
  9. Understanding Ways to Select Objects
  10. Using Visualization Aids When Working in 3D Views
  11. Saving and Closing Project File
02 Getting Started With Revit Architecture 6 topics
  1. Starting a New Project
  2. Specify Project Information
  3. Understanding the Units and Snaps
  4. Creating and Modifying Levels
  5. Setting and Showing the Active Work Plane
  6. Creating Reference Planes
03 Modeling Building Essentials 8 topics
  1. Creating Basic Walls
  2. Creating Doors
  3. Creating Windows
  4. Using & Modifying Temporary Dimensions
  5. Creating Curtain Walls
  6. Creating Curtain Grids and Mullions
  7. Creating a Roof by Footprint
  8. Creating a Roof by Extrusion
04 Basic Modifying and Reporting tools 10 topics
  1. Copying and Moving Objects
  2. Rotating & Scaling Objects
  3. Creating Linear & Radial Arrays
  4. Mirroring & Aligning Objects
  5. Trimming and Extending Objects
  6. Offsetting Objects
  7. Creating Elements Consistently with Match Type Properties and Create Similar
  8. Measuring versus Dimensioning Objects
  9. Pinning, Splitting & Deleting Objects
  10. Understanding Element IDs
05 Walls - An In-Depth Look 13 topics
  1. Creating Walls by Picking Lines
  2. Understanding Wall Properties
  3. Understanding Curtain Wall Types
  4. Customizing Vertical Wall Structure by Adding Sweeps & Reveals
  5. Creating a Stacked Wall
  6. Understanding Compound Wall
  7. Creating a Curved Curtain Wall
  8. Selecting Curtain Wall Components
  9. Working with Curtain Wall Grids & Mullions
  10. Modifying Curtain Wall Panels
  11. Placing Doors in Curtain Walls
  12. Customizing Vertical Wall with Edit Wall Profiles
  13. Customizing the Base and Top Extension of Walls
06 Modelling Building Core Elements 11 topics
  1. Creating Floors
  2. Modifying Floor Properties
  3. Creating Stairs by Component
  4. Creating Stair Components by Sketching
  5. Creating Spiral, L-Shape & U-Shape Winder Stair
  6. Creating Ramps
  7. Placing Railings on a Host
  8. Creating Railings by Sketch
  9. Creating and modifying Grids
  10. Creating Architectural Column In-Depth-Look
  11. Understanding & Customizing Railing Properties
07 Modelling Building Interiors 9 topics
  1. Creating Interior Partitions
  2. Creating Ceilings
  3. Creating Ceiling Openings
  4. Placing Building Components in Ceilings
  5. Creating Rooms & Room Separation Lines
  6. Place Rooms Automatically & Tag Room
  7. Creating Area Plans & Area Boundary Lines
  8. Creating and Managing Color Schemes
  9. Control the Visibility of Rooms
08 Dimensions and Constraints 9 topics
  1. Creating Permanent Dimensions: Aligned, Linear, Angular, Radial, Diameter & Arc Length
  2. Working with Permanent Dimensions
  3. Working With Spot Elevation, Coordinates & Slopes
  4. Modifying Dimensions
  5. Overriding Dimension Text & Locking Dimensions
  6. Controlling Dimension Units & Using Equality Constraint
  7. Creating & Modifying Dimension Styles
  8. Dimensioning Entire Walls & Change Dimensions from Temporary to Permanent
  9. Change the Appearance & Show Temporary Dimensions with Multiple Elements Selected
09 Components and Families 7 topics
  1. How to Download Components
  2. Understanding Families
  3. Placing Components
  4. Placing Hosted Components
  5. Placing Components from the Project Browser
  6. Loading Families and Using Type Catalogs
  7. Move a Component to a Different Host
10 Managing Project Settings & Visibility/Graphics 12 topics
  1. Creating/Modifying/Using New/Custom Drafting Fill Pattern
  2. Creating/Modifying/Using New/Custom Model Fill Pattern
  3. Creating/Modifying/Using New/Exist Material
  4. Creating New Material Library
  5. Creating/Modifying/Using Line Style
  6. Creating/Modifying Line Weight & Line Pattern
  7. Creating/Modifying Object Styles with Using Line Weight/Line Pattern
  8. Understanding & Using Detail Level
  9. Elements: Hide/Unhide & Temporarily Hide/Isolate
  10. Understanding & Controlling Visibility and Graphic
  11. Override Visibility and Graphic Display of an Elements
  12. Understanding & Creating View Filters using AND, OR & Nested Rule Sets
11 Advanced Modeling Tools & Techniques 8 topics
  1. Creating Roof Soffit, Fascia & Gutter
  2. Cut an Opening in a Floor, Roof, or Ceiling
  3. Creating Rectangular Opening in a Wall & Shaft Opening
  4. Placing a Model Line & Converting Line Types
  5. Adding & Editing Model Text
  6. Joining Roofs & Creating a Dormer Opening in a Roof
  7. Splitting the Face of an Element & Using material as paint
  8. Cutting and Joining Model Elements
12 Schedules/Quantities and Material Takeoffs 7 topics
  1. Creating Schedule By: Fields, Filter, Sorting/Grouping, Formating & Appearance
  2. Adding New Parameter to a Schedule
  3. Modify a Schedule By: Parameter, Column, Row, Title & Header & Appearance
  4. Adding an Annotation Schedule
  5. Working With Key Schedule
  6. Working With Room and Area Schedules
  7. Creating Material Takeoff Schedules
13 Annotation (Text Notes, Keynotes, Tags & Symbols.) 7 topics
  1. Adding Text Note, Check Spelling, Find/Replace & Modifying Text Properties
  2. Using Keynotes (Element/Material/User) and Keynotes Setting
  3. Creating Keynote Legends
  4. Using Tag By Category & Tag All
  5. Using Material Tag & Sequential Room/Door/Window Tags
  6. Editing Tag & Tag Family
  7. Adding Symbol & Creating New Symbol
14 Views and Sheets 11 topics
  1. Creating Plan Views: Floor/Reflected Ceiling/Structural
  2. Understanding Plan Region, View Range, Cut Plan View & Underlay
  3. Creating Elevation Views: Building, Interior, Framing & Reference
  4. Creating Section, Callout & Reference section/Callout View
  5. Sheet Views: Add a Sheet, Add Views to a Sheet, Use Guide Grids & Using Many More...
  6. Understanding & Using Crop Region/Annotation Crop Region
  7. Complete: Creating/Modifying a Title Block
  8. Understanding & Creating/Applying a Viewport Type/View Title
  9. Working With Placing Schedules on Sheets
  10. Understanding & Creating a Sheet List
  11. Using Revision Cloud & Sheet Issues/Revisions
15 Drafting, Detailing, Legend & Managing Other VIews 6 topics
  1. Create a Drafting View & Inserting/Importing/Saving Drafting View
  2. Work with Detail Line, Detail Component, Repeating Details & Insulation
  3. Work with Filled Regions & Masking Regions
  4. Creating a Legend View & Adding Legend Components
  5. Creating/Modifying View Types
  6. Creating Duplicate Views: Duplicate/As Dependent/with Detailing
16 Construction Modeling Workflows 14 topics
  1. Creating & Modifying Parts
  2. Controlling the Visibility and Appearance of Parts
  3. Dividing Parts With Sketching
  4. Dividing Parts With References
  5. Dividing Parts with Gaps and Profiles
  6. Creating and Using Division Profile Family
  7. Working with Merging and Excluding Parts
  8. Scheduling Parts
  9. Understanding Wall Joins and Parts
  10. Creating and Dividing Parts from Linked Models
  11. Creating an Assembly
  12. Placing and Modifying Assembly
  13. Creating and Modifying Assembly Views
  14. Deleting Assembly Views
17 Site Design 8 topics
  1. Creating a Toposurface Using Points/CAD File/Point File
  2. Using Building PAD, Subregions and Split/Merging Surfaces
  3. Using Property Line & Graded Region
  4. Creating Contour Labels & Managing Site Setting
  5. Add Parking and Site Components
  6. Understanding Project North , True North & Rotating True North
  7. Specifying The Location, Weather and Site
  8. Enabling Sun Path Diagram & Creating Solar Study
18 Creating Conceptual Design Project 12 topics
  1. Opening & Understanding the Conceptual Design Environment
  2. Creating Conceptual Mass Solid Forms, Void Forms & Surface
  3. Creating Reference Planes and Reference Lines
  4. Understanding Creating Forms from Model Lines & Reference Lines
  5. Working With Reference Points
  6. Different way to Modifying form profiles
  7. Modifying Forms with Add Edge and Add Profile
  8. Creating Divided Paths, Surfaces & Adding Patterns to Divided Surfaces
  9. Creating Dimension and Parameter Constraints & Loading Mass into the Project Environment
  10. Creating an In-Place Mass in Revit Environment
  11. Creating Mass Floors
  12. Creating Model by Face Elements: Wall, Floor, Roof & Curtain System
19 Managing Settings 7 topics
  1. Managing & Creating Project Browser View Organization
  2. Transfer Project Standards
  3. Understanding Project Template Files
  4. Creating Own Template Files
  5. Deleting Unused Items from a Project
  6. Adding/Removing Keyboard Shortcuts
  7. Using the Options Dialog
20 Working in a Team 11 topics
  1. Understanding Worksharing Concepts
  2. Understanding Worksharing Terminology
  3. Enabling Worksharing and Creating Central Model
  4. Creating a Local Copy of a Central Model
  5. Creating Worksets and Making Worksets Editable
  6. Controlling the Workset Visibility
  7. How to Communicate and Transferring Changes Between Local Model to Central MOdel
  8. Working With Editing Request
  9. Understanding the Active Worksets
  10. Working with Worksharing Display Modes
  11. Understanding the Opening Worksets
21 Working With Groups, Design Options & Project Phasing 15 topics
  1. Understanding the Group Elements
  2. Creating a Detail and a Model Groups
  3. Attaching a Detail Group
  4. Modifying Group Elements
  5. Load and Place Groups
  6. Converting Groups to Linked Models and Linked Models to Groups
  7. Saving and Deleting Groups
  8. Understanding Phase and Phase Filters
  9. Creating a Phase and Combining Phases
  10. Demolish Elements tool
  11. Creating and Applying a Phase Filters
  12. Understanding Design Options
  13. Working with Design Options and Option Sets
  14. Duplicating, Deleting & Editing Design Options
  15. Promoting and Accepting Design Options
22 Working With Family Creation 5 topics
  1. Introducing Form Creation
  2. Creating Solid Extrusions and Blends
  3. Creating Solid Revolves, Solid Sweeps and Swept Blends
  4. Creating Void Forms, Reference Planes and Reference Lines
  5. Creating Dimension, Parameter Constraints & Family Types
23 Presentation Views 12 topics
  1. Working with Levels in 3D Views
  2. Creating and Rotating 3D Views
  3. Create a Perspective View & Uncropped Perspective Views
  4. Work in a 3D View & Perspective Views
  5. Working with a Section Box
  6. Isolate Elements in a 3D View with a Selection Box
  7. Specify the Background for a 3D View & Save a 3D View Orientation as a Project View
  8. Working with Displacement Set/Views
  9. Creating a Decals & Managing Decals Types
  10. Managing The Shadows & Photographic Exposure
  11. Utilizing Depth Cueing
  12. Orienting 3D Views to Other Views
24 Rendering and Walkthroughs 19 topics
  1. Introducing Rendering Workflow
  2. Understanding the Rendering Quality Settings & Test Render
  3. Preparing a View for Best Rendering Performance
  4. Understanding the Rendering Output Settings
  5. Using Lighting Fixtures for Rendering
  6. Creating New Lighting Fixtures
  7. Using an IES File for a Light Source
  8. Applying a Lighting Scheme for a Rendering
  9. Managing Lighting Fixtures for Rendering
  10. Defining the Sun Settings for a Rendering
  11. Understanding & Defining the Rendering Background
  12. Adding Plants and Entourage to the Scene
  13. Creating a Rendered Image
  14. Understanding Exposure Controls
  15. Saving and Displaying Renderings in the Project
  16. Creating a Walkthrough Path
  17. Editing a Walkthrough Path & Frames
  18. Controlling Walkthrough Playback
  19. Exporting a Walkthrough
25 Leveraging Other Files 11 topics
  1. Importing and Managing Image Files
  2. Linking and Importing CAD Files
  3. Managing Linked/Imported CAD Files
  4. Using CAD Files to Create Building Model
  5. Understanding CAD Export Setup Options
  6. Exporting to 2D/3D CAD Formats
  7. Exporting Views to Image Files
  8. Exporting Model to 3ds Max
  9. Exporting Room and Area Reports
  10. Exporting schedules
  11. Exporting to Civil 3D

Ratings & reviews

Students rate the course after they finish it — their ratings appear here.

Revit course — FAQ

What is Revit used for?

Autodesk Revit is BIM software used to design and document buildings. Architects, structural engineers and MEP engineers build one intelligent 3D model from which plans, sections, schedules and quantities are produced.

Does this Revit course cover MEP?

Yes. Along with architectural and structural modelling, the course covers Revit MEP tools for HVAC ducts, plumbing pipes and electrical systems, so you understand how all disciplines work in one model.

Is Revit hard to learn?

Revit is easy to start but takes practice to master. With step-by-step classes, real building exercises and trainer support, most students become productive within the course.

How long is the Revit course?

The Revit course is 180 Hours long, giving enough time for architecture, structure, MEP, families, documentation and a complete building project.

Can I learn Revit online?

Yes. We run classroom batches at CADD Training Centre branches and live online batches, both with hands-on practice and a student login.

Will I get a certificate after the Revit course?

Yes. After the Revit course you receive a CADD Training Centre certificate. BIM employers can confirm it online with its QR code or verification code, and your building project supports it.

What jobs can I get after learning Revit?

Revit opens roles such as BIM modeller, Revit architect, Revit MEP modeller, BIM coordinator trainee and design engineer in architecture, MEP and construction firms.

More questions? Ask our counsellor or read the general FAQ.

Revit180 Hours
Enquire now