Classroom & live online 60 Hours Verifiable certificate Syllabus ↓

Wilcom Course

Wilcom embroidery digitising course: stitch types, underlay, lettering, appliqué and machine files.

Your roadmap — from admission to certificate

  1. Free counselling

    Talk to our counsellor — choose the right course, batch time and mode.

  2. Admission

    Join at a CADD centre near you or online. You get your student login and ID card.

  3. Learn step by step

    60 Hours of hands-on Wilcom classes — in the classroom or live online.

    Introduction to Computerised EmbroideryBasic Digitising and Stitch TypesStitch Quality SettingsLettering and MonogramsAdvanced DigitisingAuto-Digitising and EditingColour and Production SetupMachine Output and Final Project
  4. Practice & project

    Exercises in every class and a final project, checked by your trainer.

  5. Course completion certificate + completion badge

    Finish the course and get your course-completion certificate and a digital completion badge with your name.
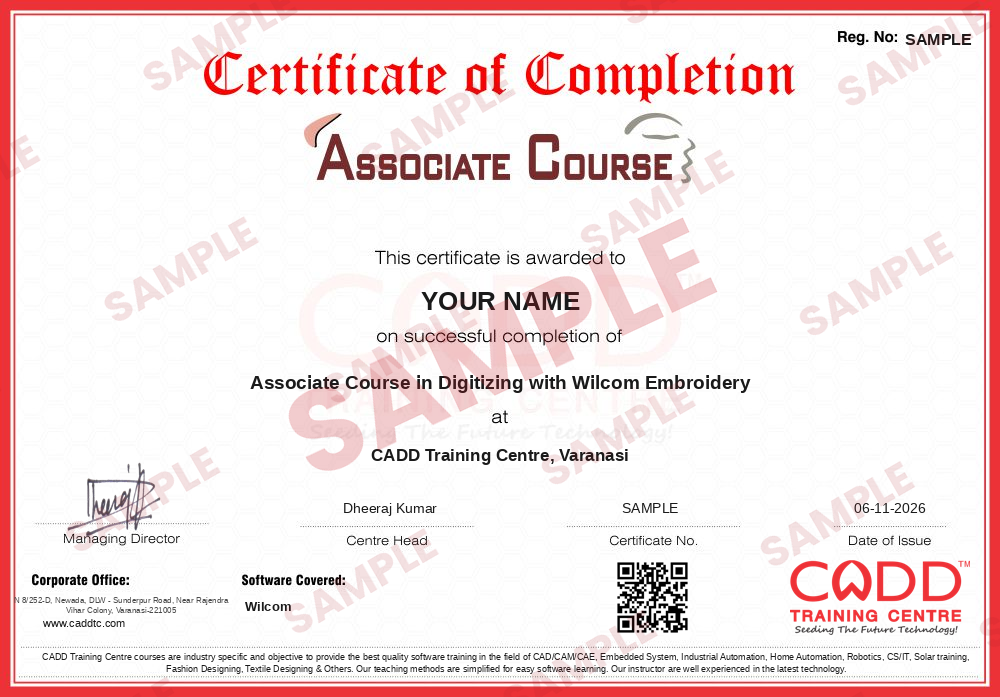
    Sample course-completion certificate — Associate Course in Digitizing with Wilcom Embroidery
    Course-completion certificate (sample) — Associate Course in Digitizing with Wilcom Embroidery · verifiable online
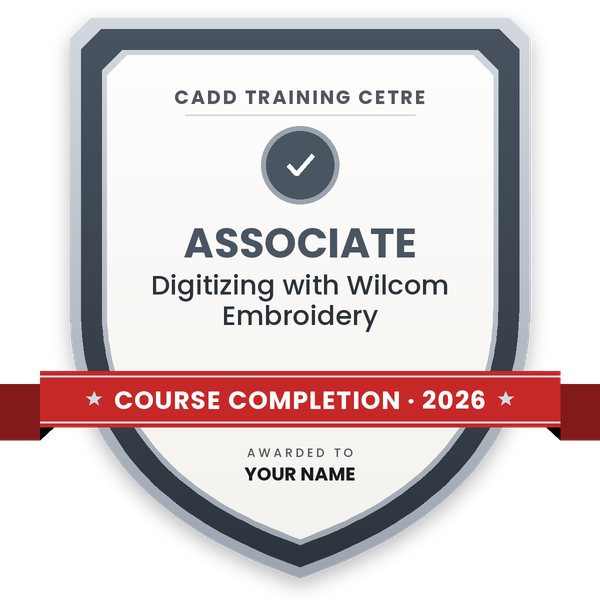
    Course-completion badge — Associate Course in Digitizing with Wilcom Embroidery
    Course-completion badge
    Course
    Associate Course in Digitizing with Wilcom Embroidery
    Issued by
    CADD Training Cetre
    Training
    Classroom or live online
    How to earn
    Complete the course and its project
    With your name and year · its own verify link · “Add to profile” on LinkedIn
  6. Certification exam

    Take the certification exam: a theory test and a practical task — at the centre or online.

  7. Certified certificate + marksheet

    Pass the exam and get the certified certificate with your marksheet. Anyone can check it online with its QR code.

  8. Certified badge

    Your certified badge — add it to LinkedIn and share it anywhere; it opens its own verify page.
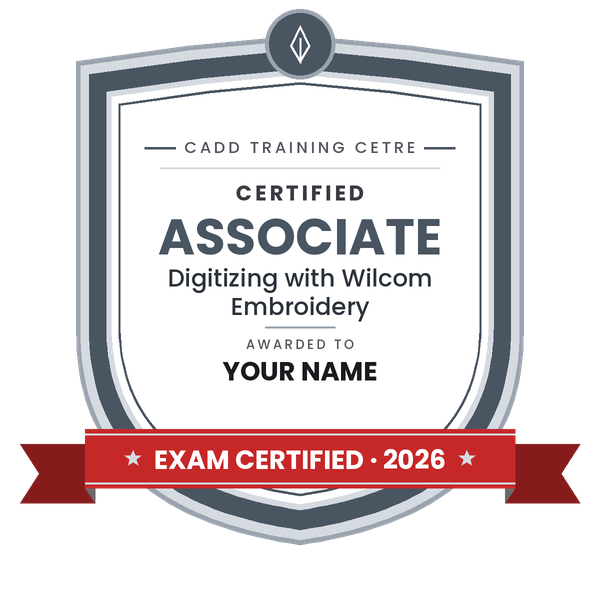
    Certified badge — Associate Course in Digitizing with Wilcom Embroidery
    Certified badge
    Course
    Associate Course in Digitizing with Wilcom Embroidery
    Issued by
    CADD Training Cetre
    Training
    Classroom or live online
    How to earn
    Pass the certification exam
    You also get
    Certified certificate + marksheet
    With your name and year · its own verify link · “Add to profile” on LinkedIn
  9. Make your CV & apply for jobs

    Make your CV in your student panel (Career → My CV) — your course, certificates and projects are added for you. Send it as a link with a preview picture, and apply to jobs and Hire Me requests from companies.

About the Wilcom course

Wilcom EmbroideryStudio is professional embroidery digitising software used by textile units, embroidery job workers, garment exporters and boutiques. It converts artwork and logos into stitch files that computerised embroidery machines can run, with full control over stitch types, density, underlay and colour sequence, which decides how clean and durable the finished embroidery looks on fabric.

This 60-hour Wilcom course starts with the workspace and basic digitising, then covers satin, fill and run stitches, underlay and pull compensation, lettering with embroidery fonts, appliqué, special effects, auto-digitising and editing existing designs. You also learn hooping, colour sequencing and thread charts, and how to save designs in machine formats and print production worksheets. Classes are hands-on, in the classroom at CADD centres or in live online classes, using real logos and motifs.

Wilcom skills lead to roles such as embroidery digitiser, embroidery designer and textile CAD operator, and help boutique owners run their own computerised embroidery work.

You will be able to

  • Digitise logos and motifs into clean embroidery designs in Wilcom
  • Choose satin, fill (tatami) and run stitches for each design area
  • Set underlay, density and pull compensation for different fabrics
  • Create embroidery lettering, monograms and names
  • Make appliqué, 3D puff and other special-effect designs
  • Plan colour sequence, hoop size and thread charts
  • Save machine files and print production worksheets

Who it is for

  • Textile and fashion design students
  • Embroidery machine operators who want to digitise designs
  • Boutique owners and embroidery job workers
  • Garment export and textile unit staff

What you need

  • Basic computer skills
  • Basic knowledge of embroidery or textiles helps
  • For live online classes: a Windows PC with 8 GB RAM and stable internet

Courses that include Wilcom

Associate Course in Digitizing with Wilcom EmbroideryAssociate Course · 60 Hours
Enquire →
Professional Course in Digitizing with Wilcom EmbroideryProfessional Course · 60 Hours
Enquire →
Textile Designer (CAD) – Professional Career ProgramProfessional Career Program · 180 Hours · 3 software
Enquire →

Wilcom Syllabus

8 chapters · 39 topics
01 Introduction to Computerised Embroidery 5 topics
  1. How computerised embroidery machines work
  2. Wilcom EmbroideryStudio interface and toolbars
  3. Design window, Object List and Color Film
  4. Hoops, fabrics and design settings
  5. Opening, saving and design file types
02 Basic Digitising and Stitch Types 5 topics
  1. Importing artwork and backdrops
  2. Run, triple run and backstitch
  3. Satin and column stitches
  4. Fill (tatami) stitches and stitch angles
  5. Digitising a simple motif
03 Stitch Quality Settings 5 topics
  1. Stitch density and length
  2. Underlay types: centre run, edge run, zigzag, tatami
  3. Pull compensation
  4. Auto-split and auto-jump settings
  5. Settings for knits, denim and towels
04 Lettering and Monograms 5 topics
  1. Embroidery fonts and lettering tool
  2. Baselines and letter spacing
  3. Converting TrueType fonts
  4. Monograms and team names
  5. Small text quality tips
05 Advanced Digitising 5 topics
  1. Complex fills and pattern fills
  2. Appliqué objects
  3. 3D puff and special effects
  4. Contour, motif and sculpture stitches
  5. Logo digitising with layered objects
06 Auto-Digitising and Editing 5 topics
  1. Auto-digitising images
  2. Reshaping objects and nodes
  3. Editing stitches and imported designs
  4. Resizing and scaling designs
  5. Removing overlaps and trims
07 Colour and Production Setup 5 topics
  1. Colour sequencing and colour changes
  2. Thread charts and colourways
  3. Hooping and multi-hoop designs
  4. Stitch simulation and checking
  5. Production worksheet
08 Machine Output and Final Project 4 topics
  1. Saving machine formats such as DST
  2. Transferring designs to the machine
  3. Project: digitise a logo, name and motif set
  4. Certificate assessment

Ratings & reviews

Students rate the course after they finish it — their ratings appear here.

Wilcom course — FAQ

What is Wilcom software used for?

Wilcom EmbroideryStudio is used to digitise artwork into embroidery stitch files for computerised embroidery machines, with control over stitch type, density, underlay, lettering and colour sequence.

Can I learn embroidery digitising without design experience?

Yes. The course starts from basic stitches and simple motifs. Basic computer skills are enough, and knowledge of embroidery or fabrics is a bonus.

How long is the Wilcom course?

The Wilcom course is 60 hours long, including a final digitising project of logos, lettering and motifs.

Can I learn Wilcom embroidery software online?

Yes, both modes run: classroom batches at CADD Training Centre and live online classes. In Wilcom online sessions you digitise logos and motifs on your PC and the trainer reviews stitch simulation with you.

Will I get a certificate for the Wilcom course?

Yes. Completing the Wilcom course earns you a CADD Training Centre certificate with a QR code and verification code, so an embroidery unit can confirm it online.

What jobs are there for Wilcom digitisers?

Embroidery digitiser, embroidery designer, textile CAD operator and production assistant in embroidery units, garment exporters and boutiques. Many trained digitisers also take freelance digitising work. Career guidance is included.

What is the difference between digitising and auto-digitising?

Manual digitising means placing each stitch object yourself for full quality control. Auto-digitising converts an image automatically and usually needs manual correction, which this course teaches.

More questions? Ask our counsellor or read the general FAQ.
Wilcom60 Hours
Enquire now